Table of Contents
Introduction
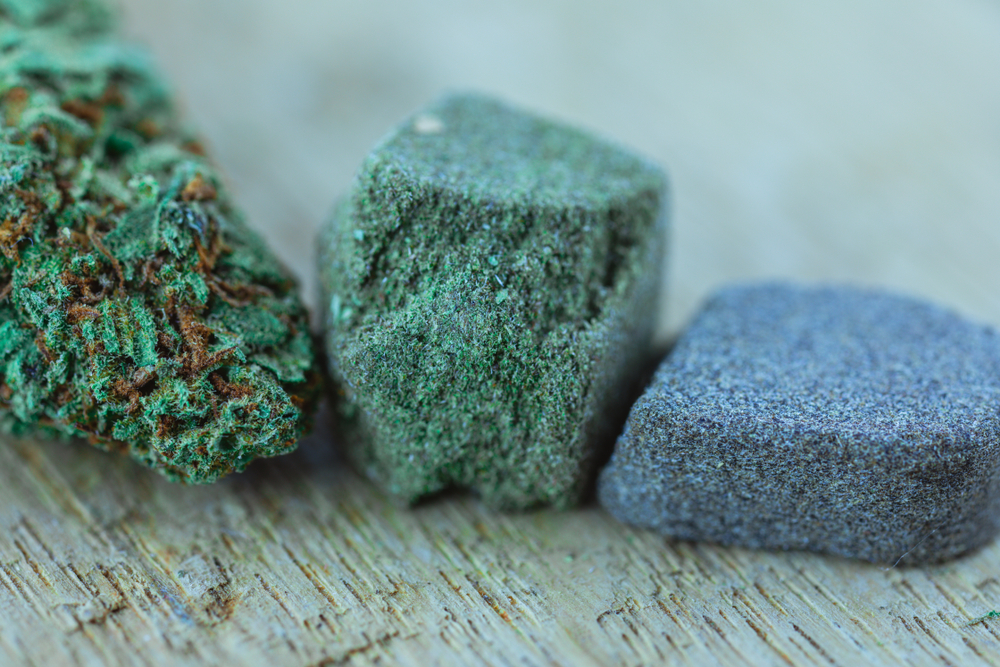
Hashish, the concentrated form of cannabis, has been around forever. The word hashish even means “grass” in Arabic! Our ancestors in India were dabbling in hash centuries ago by rubbing weed between their palms. Then, they roll the sticky resin into little balls of joy, aka “charas.”
Currently, high-end oils produced using solvents are the most common form of cannabis concentrate. Some folks go old school and prefer the traditional non-solvent hashes. However, OG connoisseurs still prefer the traditional non-solvent hashes that are pure bliss. You can manually extract cannabis trichomes using dry sift and ice water extraction techniques. You’ll find excellent CBD hash varieties at Hempati.
If you want to dive into the world of hash and know everything about how it’s made, you’re in the right place. This guide gives you the lowdown on everything you need to get started. Let’s do this!
What is Hash?
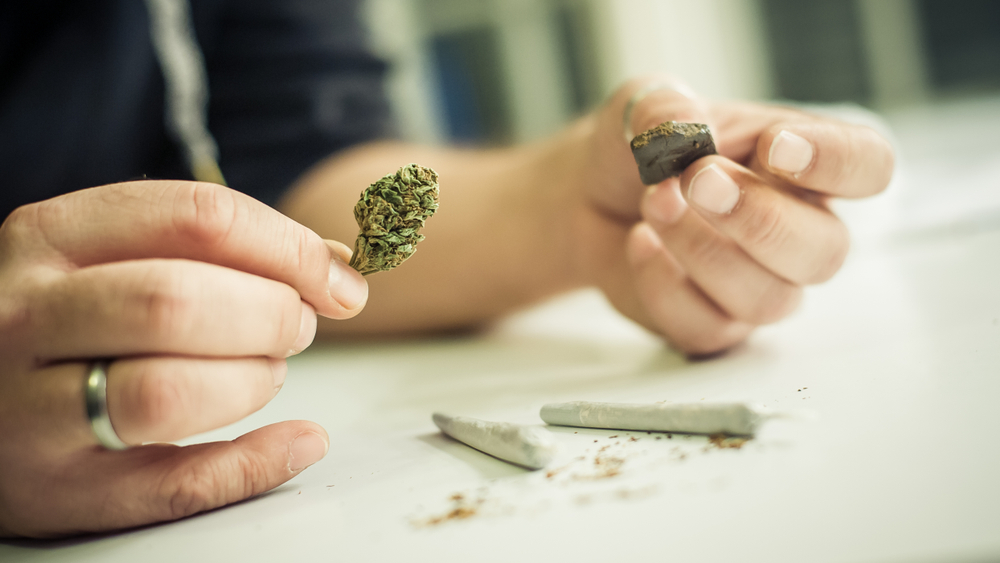
Hash is like the chocolate of cannabis! Basically, it’s a concentrated form that’s made by rubbing the resin glands of the plant together. This produces solid brick, slab, or rolled pieces that pack a serious punch. But here’s the key – don’t get it confused with kief! Kief is like a dry powder that you collect through a mesh screen. Its consistency is solid, and it has a chocolatey, sandy color that’s easy on the eyes and the taste buds.
Hash is the OG prototype of all the crazy concentrates out there. It’s been around way longer than all those fancy waxes, shatters, and budders. It’s actually kind of low-tech, but it still totally crushes it. My grandpa used to tell me stories about how he’d smoke hash out of a can in college because nobody had heard of bongs yet.
Required Equipment to Make Hash
If you want to make some killer hash, you’ll need some tools. Well, I’ve got some tips that’ll get you started on the right foot.
-Let’s start with the essentials: a freezer or freeze dryer. Not only can they speed up the drying process, but they’ll also help you avoid that dreadful oxidation. Trust me, you don’t want to end up with a subpar final product.
-Next, you need a grinder for a game-changing experience that has a kief collection compartment. No more mess, just ease and convenience. Plus, if you have some extra kief lying around, you can try your hand at making your own hash. It’s like culinary experimentation but more fun.
-If you’re planning on dry-sift hash making, you’ll need some fine mesh screens. They come in different sizes, so make sure you get the right one for your needs. Food-grade nylon is the way to go, folks.
-For those who are making ice water hash, micron bags are your new best friend. They’ll help you separate the hash from the water and come in different sizes depending on what you’re looking for.
-Finally, if you want to turn your hash into a brick or slab, you’ll need a heat and pressure source. You can go the hair straightener route, or if you’re feeling extra fancy, invest in an industrial mechanical press.
And there you have it, folks! You’re now armed with all the tools you need to become a hash-making pro. So go forth and experiment with confidence!
How Is Hash Made?
The powerful and unique effects of cannabis are primarily due to its trichomes. They’re tiny resin glands found on mature cannabis plants that pack a punch of cannabinoids and terpenes – the stuff that makes cannabis so psychoactive and medicinal. If that’s cool, let me tell you Hashish, a potent cannabis form, is made from these trichomes.
Do you want to know how people make homemade hash? Well, they use this technique called dry sifting, which basically involves using the powdery residue leftover from grinding cannabis. Apparently, it’s the kief that makes the magic happen. But wait, there’s more! As the cannabis industry is expanding, people are coming up with all sorts of new and improved ways to make own hash on a larger scale. It’s getting crazier every day.
Here’s how to make your very own handmade hash using dry sifting.
Step 1: Pop your cannabis flower in the freezer for a few hours. This helps the trichomes separate from the cannabis plant, which makes it easier to collect them later. If you’re a big-time producer, you might use a freeze dryer.
Step 2: Take that chilled-out flower and grind it up. Many grinders out there have little compartments at the bottom that catch those loose trichomes you want. Don’t waste them; they’re perfect for making hash.
Step 3: Now, here’s where the magic happens. Grab a fine mesh and get sifting! I like to use a screen that’s about 90 or 115 microns in size and move it round and round in a circular motion. This will separate the trichomes from the plant material. The finer the mesh, the purer the end result! Keep sifting and collecting until you’ve got a decent amount of the good stuff. Those little trichomes are the backbone of your hash and contain all the good stuff, like cannabinoids and terpenes that make your concentrate grade-A quality.
Step 4: Now, here’s where things get hot and heavy. Take your trichomes and apply some heat and pressure to melt them together into a nice, compact brick of hash. There are plenty of ways to do this, but if you’re doing this on a large scale, try using a hash washing machine.
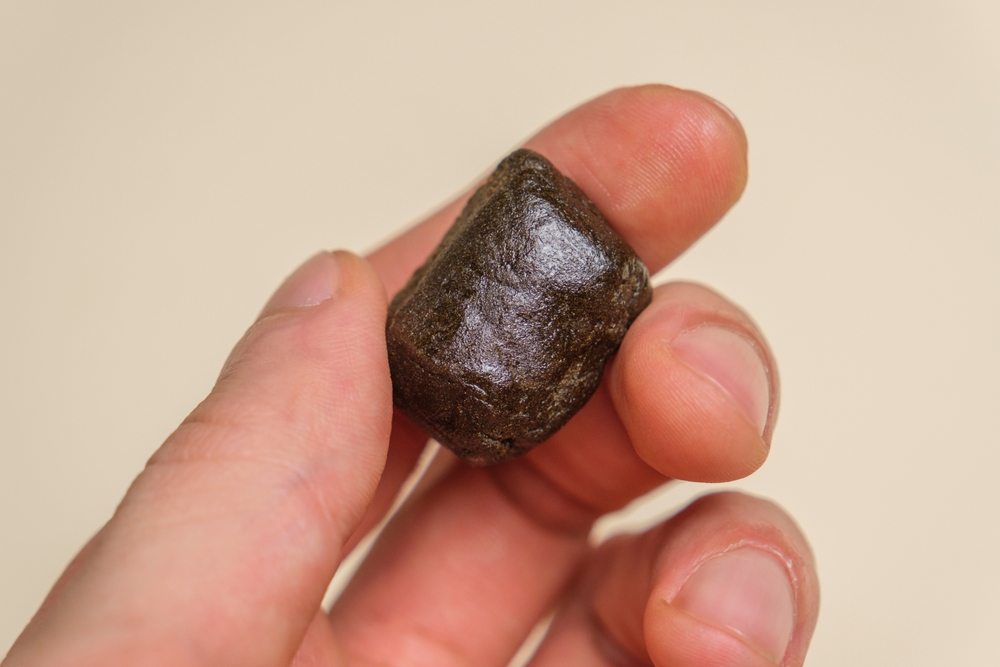
When it comes to hash products, their shape, and size are determined by the extraction methods used. For instance, making hash by hand involves pressing it using heat and pressure, like with a hair straightener, to turn it into a hard slab or even try molding it into a ball.
Although this method is more time-consuming, it can produce excellent-quality hash. Larger production facilities, however, use machines to create uniform bricks or soap bars for convenience. With different methods available for making hash, you can choose the one that works best for you!
Ice water hash
Also called Bubble hash, ice water hash is basically a way to get all the good stuff from cannabis flower and trim it using just ice, water, and little mesh bags. It’s super easy to make! All you need to do is mix the weed with ice water, strain it, and press it. You’ve got the hash that’s ready to use. But here’s the best part: it’s a smoother and more potent way to enjoy cannabis. In bigger facilities, machines are used to speed things up. It’s a great way of hash production with consistency and efficiency.
Making ice water hash is easier than it sounds! Before you start, grab some ice, water, micron filter bags, fresh cannabis flower, and two sturdy food-grade buckets. If you have access to a commercial-grade washing machine or freeze-dryer, even better!
Step 1: Now that we’ve got our materials, let’s make hash. Fill your first bucket with ice, making sure to line it first with a 220-micron filter bag. Now, add a layer of ice to your glass, then add your flower on top of it, and finish it off with another layer of ice. Pour water slowly until the top layer of ice is covered, typically taking 1-2 gallons of water.
Step 2: Time to start stirring! Treat your mix like you are paddling a boat, gently agitating for 15-20 minutes. As the ice melts, keep stirring slowly, and let it fall apart on its own. This may take longer than 20 minutes.
Step 3: Once you’re done stirring, it’s time for the next bucket. Now line it with a few filter bags, making sure the finest micron bag is on the bottom. Then carefully transfer all the water, cannabis, and ice mix into the new bucket. Wait for ten minutes to let the hash settle to the bottom.
Step 4: On to drying your hash. You can consider a freeze-dryer, but it’s not a must. Remove the first bag and scrape off the wet hash with a spoon. Commercial facilities use a freeze dryer, but you can use the drying screen. Do this till you go through every bag and it’s ready! Enjoy your freshly made ice water hash!
This should last you around 4-8 months after pressing if you store it properly in a cool, dark space. But wait, this doesn’t apply to all manufacturers. Every manufacturer has their preferred method and equipment when making hash. Meanwhile, big facilities use massive machines like washers.
Conclusion
Making hash is an art form that demands patience, creativity, and a willingness to experiment. So make sure you have the right materials and equipment, because you don’t want to be rummaging around the house for sifters and presses.
The process can take anywhere from 2-7 days, depending on the type of sweet hash you’re making. Remember, each step of the process is crucial. You’re creating a product that’s truly worth savoring, so put in that extra effort! So next time you indulge in your homemade hash, take a moment to appreciate the care and expertise that went into its creation. We’re excited to see what you create!


